
Makes: 30-40 dumplings
Prep time: 1 ½ hours
Total time: 2 hoursIngredients: for the kefir dough:
2 cups|278 grams all-purpose flour
¼ cup|60 ml kefir (or buttermilk, or 1:1 mix of sour cream and whole milk)
2 tablespoons melted unsalted butter
1 large egg
pinch of kosher saltfor the onion topping:
6 tablespoons unsalted butter
2 yellow onions, thinly sliced into rounds
1 tablespoon smoked paprika
for the dumplings:
kefir dough (or Northern-style dumpling wrappers)
3 large russet potatoes (about 2 pounds|979 grams)
1 large yellow onion, diced
4 tablespoons|60 grams unsalted butter
kosher salt and freshly ground black pepper, to taste
to serve:
unsalted butter
sour cream
dillDirections: 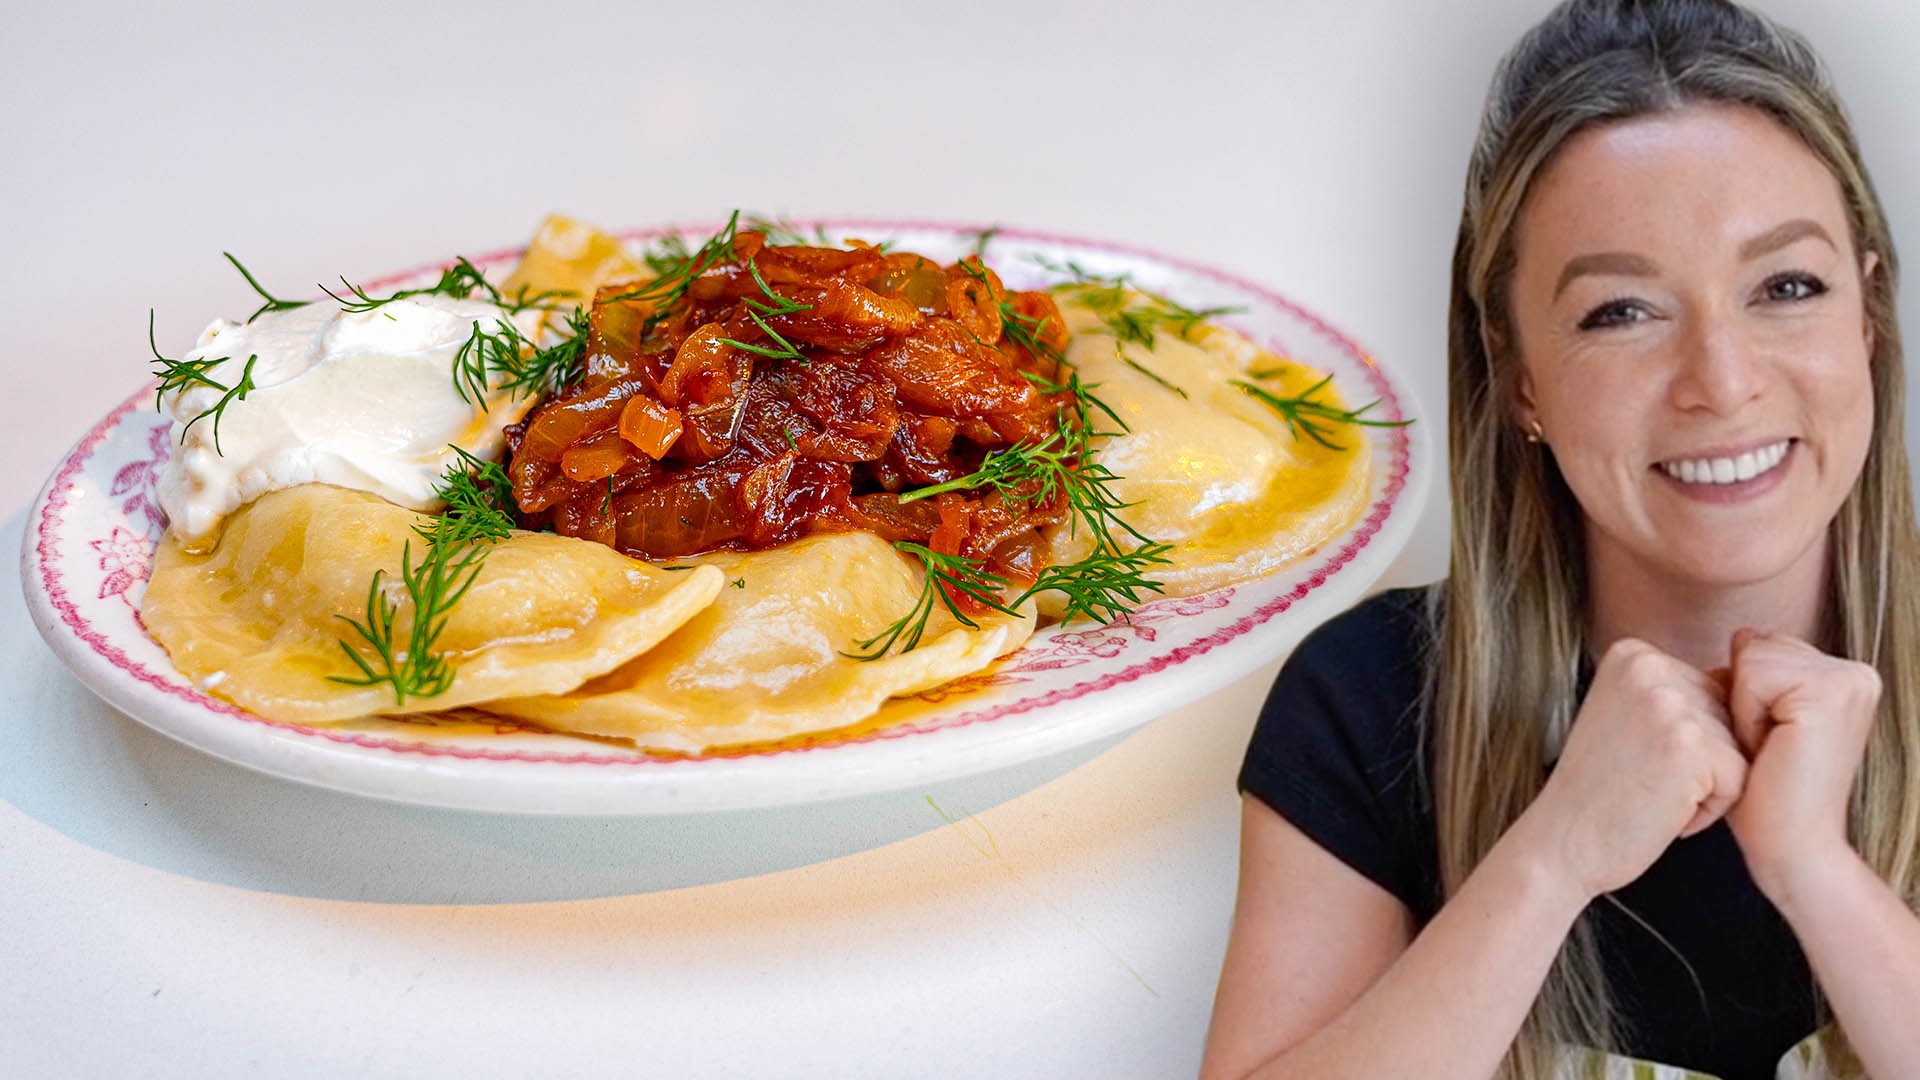
Prep time: 1 ½ hours
Total time: 2 hoursIngredients: for the kefir dough:
2 cups|278 grams all-purpose flour
¼ cup|60 ml kefir (or buttermilk, or 1:1 mix of sour cream and whole milk)
2 tablespoons melted unsalted butter
1 large egg
pinch of kosher saltfor the onion topping:
6 tablespoons unsalted butter
2 yellow onions, thinly sliced into rounds
1 tablespoon smoked paprika
for the dumplings:
kefir dough (or Northern-style dumpling wrappers)
3 large russet potatoes (about 2 pounds|979 grams)
1 large yellow onion, diced
4 tablespoons|60 grams unsalted butter
kosher salt and freshly ground black pepper, to taste
to serve:
unsalted butter
sour cream
dill
Advertisement
- Form the dough: Add flour and salt to a large mixing bowl. Combine the wet ingredients, add to the mixing bowl with flour, and stir until a shaggy dough forms. Transfer the shaggy dough to a floured work surface and knead for 5 to 10 minutes until it becomes smooth. This kneading process helps develop the gluten which is necessary for texture and structure. Dough that is well-kneaded should bounce back up to the touch, almost like a memory foam mattress. If you have a stand mixer, you can get it involved at this point: using the dough hook attachment, knead the dough on medium speed for 5 minutes until it becomes smooth. Your dough might feel dry to begin with but once you knead it for a bit, it should hydrate nicely. If you notice the dough still feels dry, dip your fingers into a bowl of water and continue kneading. Repeat this process until your dough is slightly tacky but not wet or sticky. If your dough is too sticky, work some flour in until the dough ball stops feeling sticky/soft. Once the dough has been properly kneaded, wrap it tightly in plastic and allow it to rest for at least 30 minutes. I’ve found that resting the dough at room temperature is best if you’re planning to roll it out by hand as the dough will be more malleable, but resting in the fridge is preferred if you’re using a pasta machine. Another trick of the trade: the longer your dough rests, the easier it will be to roll out. This doesn’t matter much if you’re using a pasta machine but trust me, it’ll matter if you’re rolling by hand!
- Roll it out: Once the dough has rested, use a bench scraper or a knife to cut it in half. Replace the half you’re not immediately working with in plastic wrap so it doesn’t dry out. Using a pasta machine: Flatten the dough ball using the heel of your palm until it’s less than an inch thick. Starting at a setting 1, roll the disk of dough through the machine. Fold it in half onto itself and repeat. This process is called lamination and it helps with texture. Change the machine to a setting 2 and send the dough through. Fold it onto itself one last time and send it through at setting 2 once more. Keep going until you’ve reached your desired setting. Using a rolling pin: Begin the rolling process, using plenty of flour to ensure the dough doesn’t stick. Once the sheet of dough is rolled out to a couple millimeters, fold it into thirds (like a letter), turn it 45 degrees, and continue rolling. Repeat this lamination process once or twice. It’s great for the texture of the dough and it helps your dough sheet maintain a rectangular shape. Keep rolling until the sheet of dough reaches desired thickness. Be patient! If you’re doing this by hand, rolling it out properly takes time and rushing it will result in tearing and rippling. Proceed with specific dumpling instructions.
- Make the onion topping: Melt the butter in a large skillet over medium-low. Add the sliced onions and cook, stirring occasionally, until caramelized and soft, about 30 minutes. These are going to cook low and slow for the duration of the dumpling-making process. Be sure to check in on them and stir occasionally! Once they’re caramelized and soft, stir in the paprika and keep warm.
- Make the filling: Bring a large pot of water to a boil. Add the potatoes and cook until they can be easily pierced with a fork, 35 minutes. Take this time to get your fried onions going: add 4 tablespoons of butter to a large skillet on medium-low heat. Once it melts add the diced onions, stirring frequently. If they start to crisp up, turn the heat down. You can cook them for as long as you want but you only *need* to cook them until they soften and become opaque, 12 minutes. Drain and peel the potatoes without securing third degree burns. Mash. Add the onions once they’ve turned your preferred shade of golden-brown. Mix everything and season to taste. As a general rule, I start by adding about ¼ teaspoon of salt and take it from there.
- Make the dumplings: Work with half of the dough at a time making sure to replace the rest in plastic wrap so it doesn’t dry out. On a floured work surface, roll out the dough using a rolling pin or pasta machine until it’s thin but not see through. Set up your work station with a floured sheet pan, a bowl of filling and teaspoon, and either a circular sugar cookie cutter or a mug/glass. Using your circular object of choice (a 3 inch diameter is good), make round cut-outs in the dough. Add about 1 teaspoon of filling to the center and pinch the vareniki closed into a half moon shape. If you’re having trouble making the dough stick, dab a little water around the outer edge.
- Place the finished vareniki on a floured sheet pan and repeat until you run out of dough or filling. Bring a large pot of salted water to a boil. Boil the vareniki for 3 to 5 minutes or until they float. Strain the vareniki and toss them in a bowl with a nub of butter so they don’t stick together.
- Plate, top with a Babushka-approved level of butter (that means a lot), and some sour cream and dill if you’d like.